Let’s take a look at how we can make a realistic vintage camera that’s incredibly detailed in MidJourney. As we have discussed many times on this blog, the best part about MidJourney is using it to create detail humans have a hard time creating. Let’s start off with our first prompt. Let’s use the words photo and hyper-realistic to see if we can get a good image to start.
Prompt: Vintage Camera, 1910, Photo, Hyper-Realistic
Prompt: Vintage Camera, 1910, Photo, Hyper-Realistic, complex
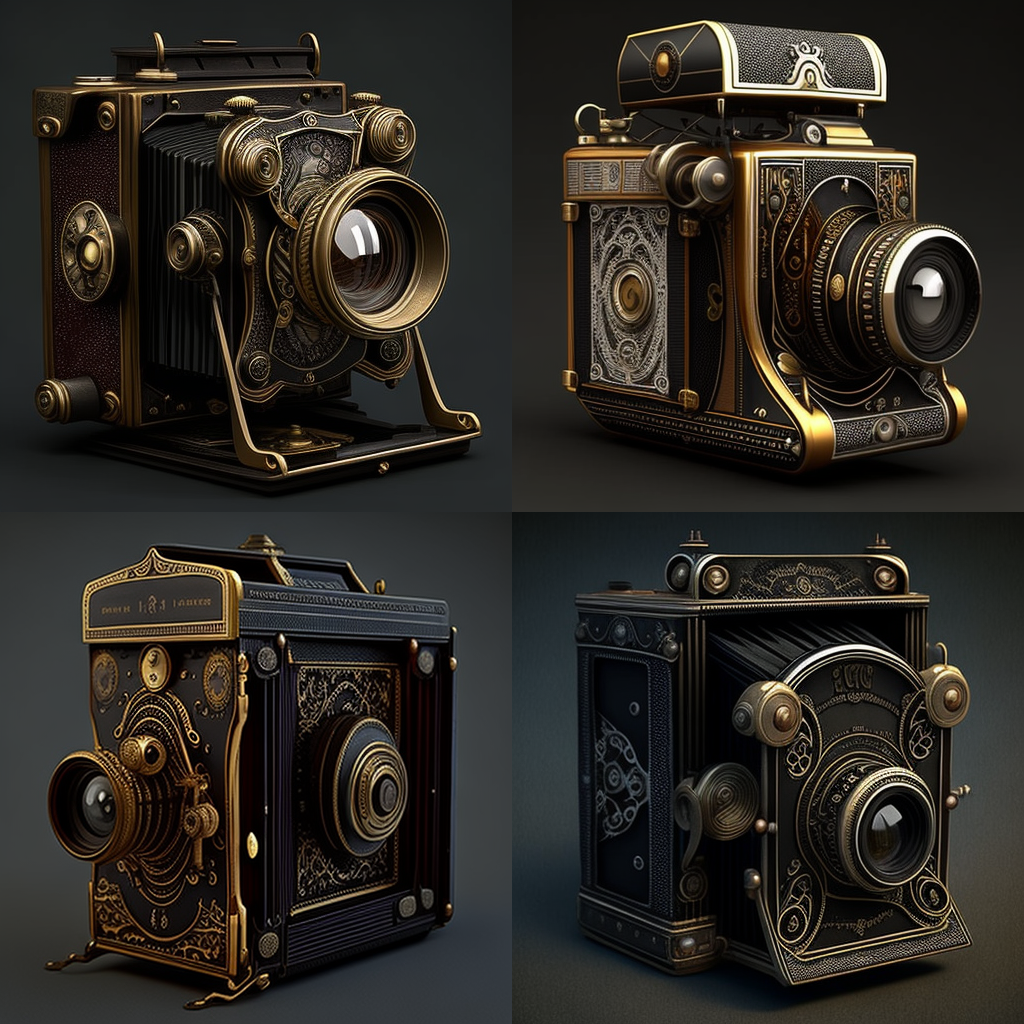
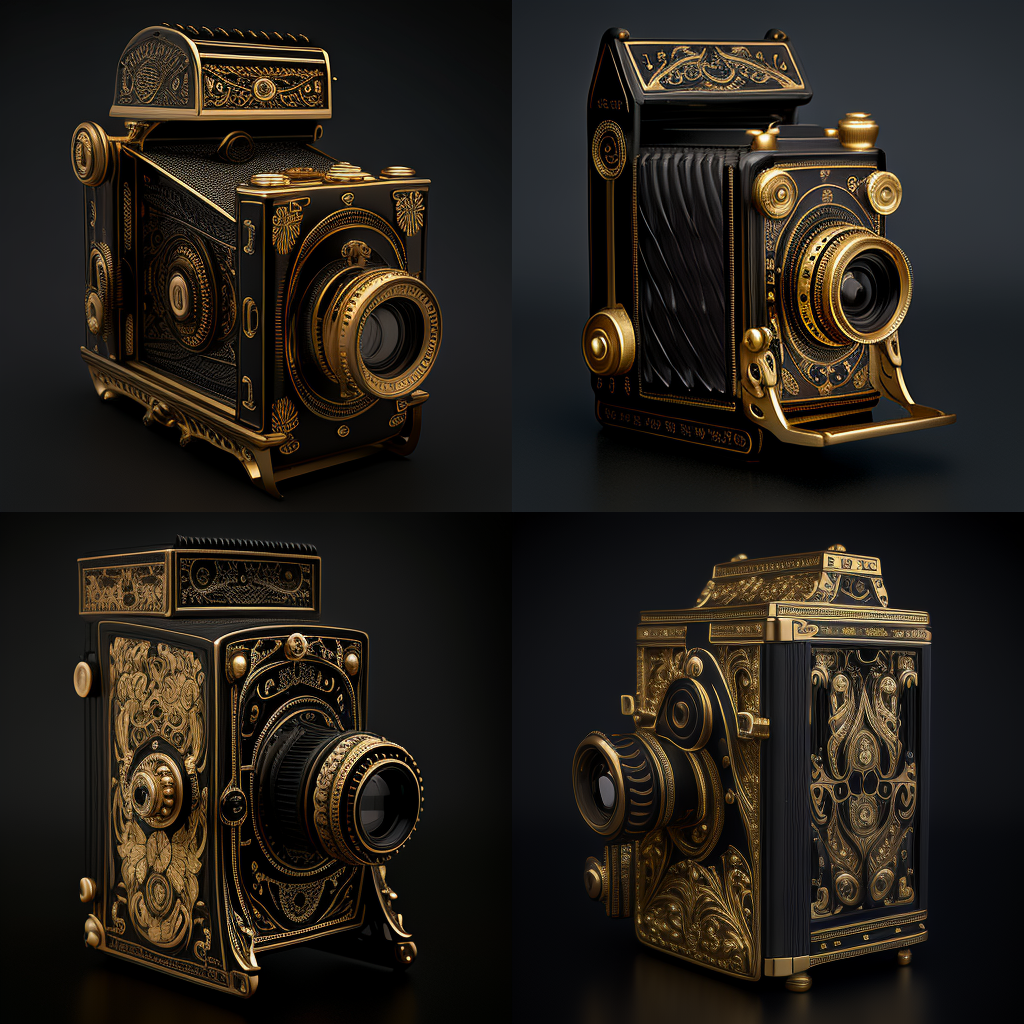
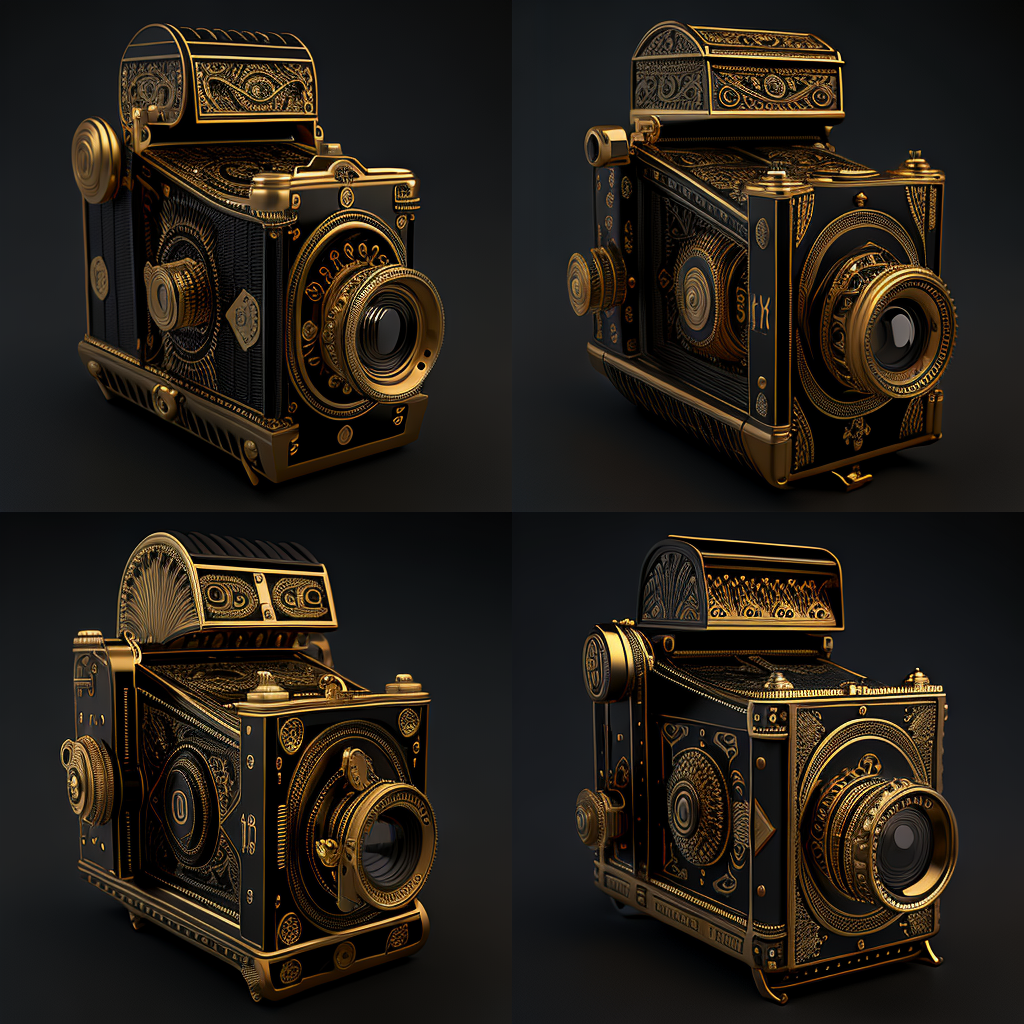
Intricate
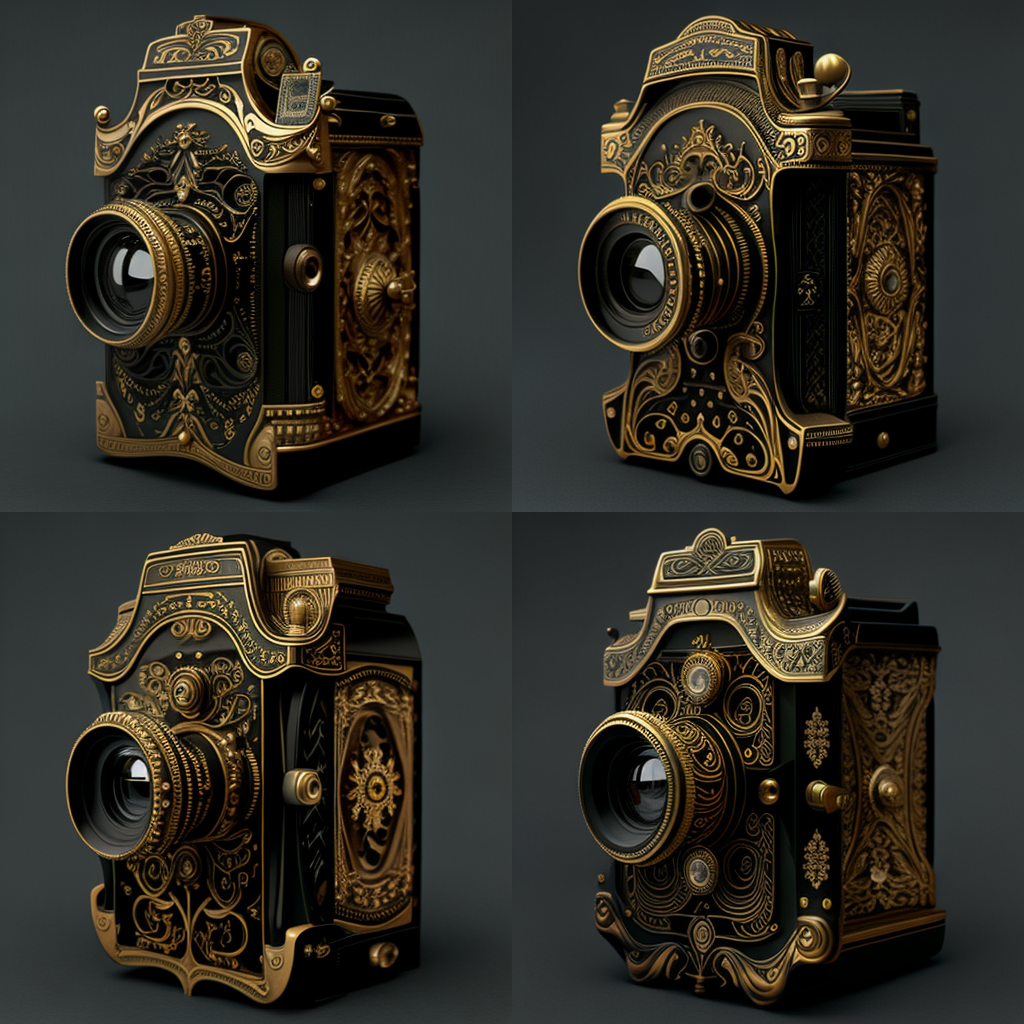
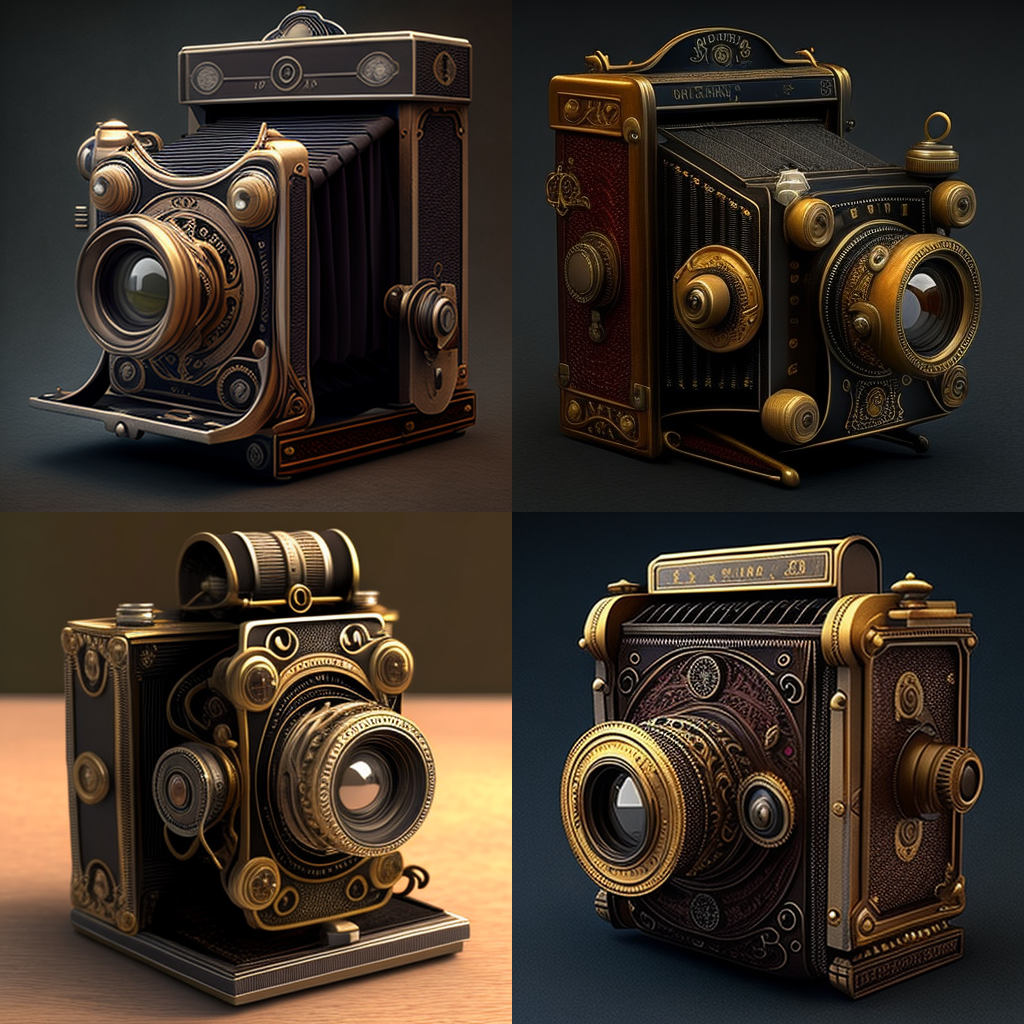
Ornate
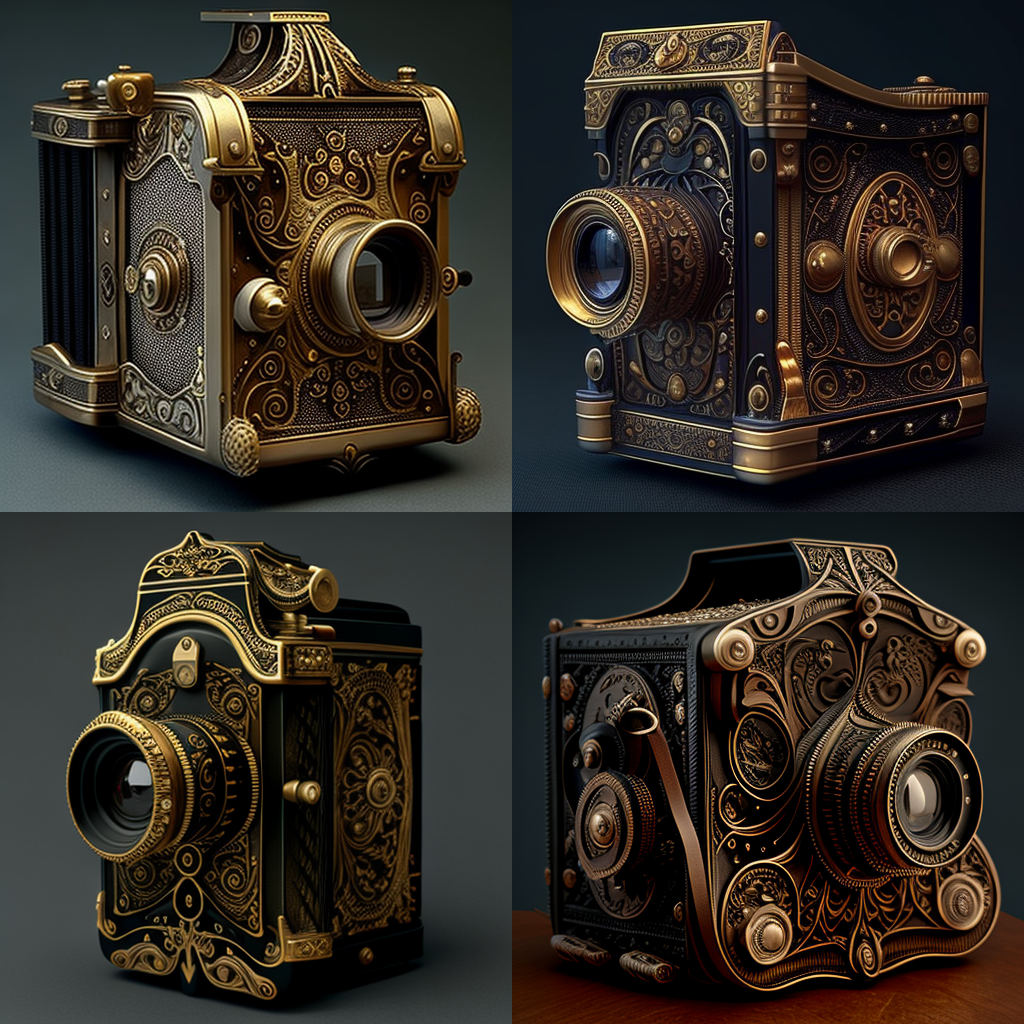
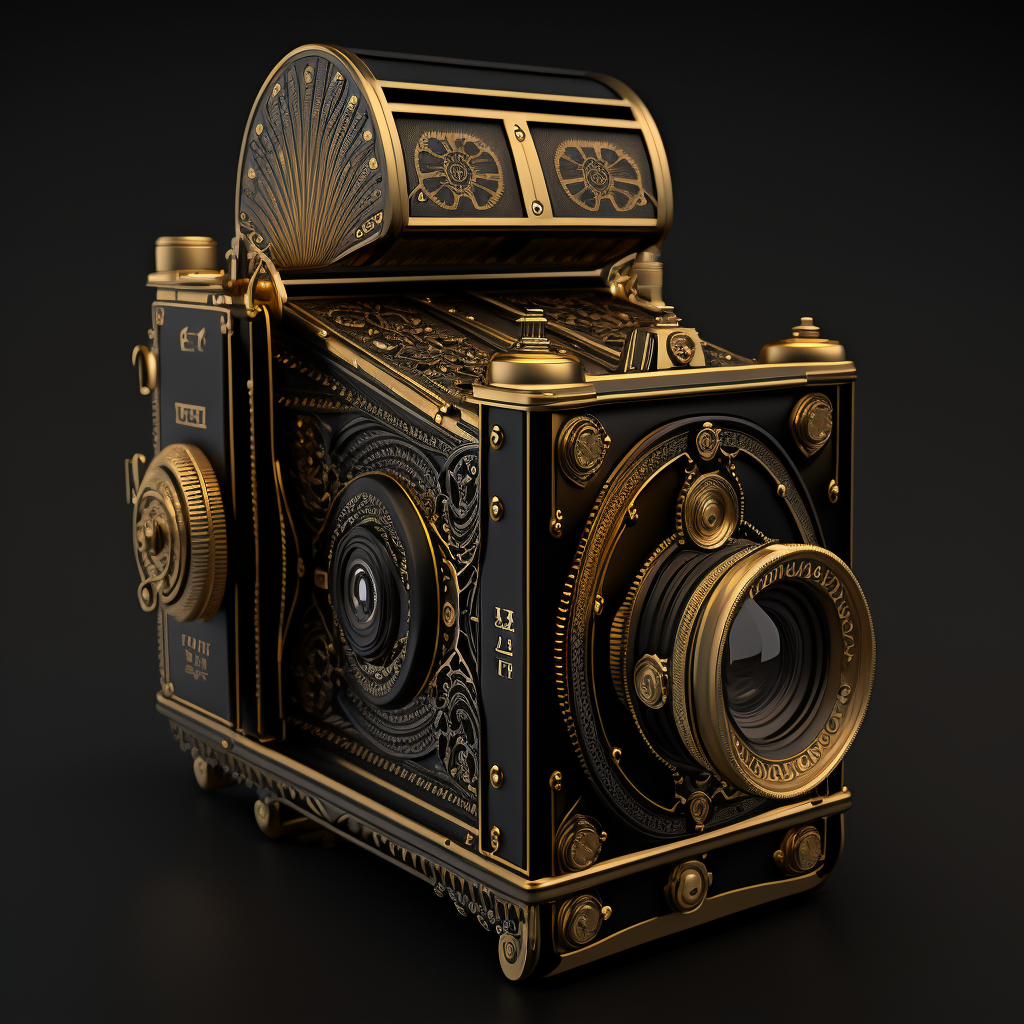
I like the intricate ones a lot better. However, there are some in the ornate that also look good. It will come down to personal preference. Next, we need to add product shot to the word list. This will position the subject in such a way that will make it shine. While we’re at it, let’s go ahead and add in 32k and –quality 5 to the prompt so we get a great render.
Prompt: Vintage Camera, 1910, Photo, Hyper-Realistic, intricate, product shot, 32k, –quality 5
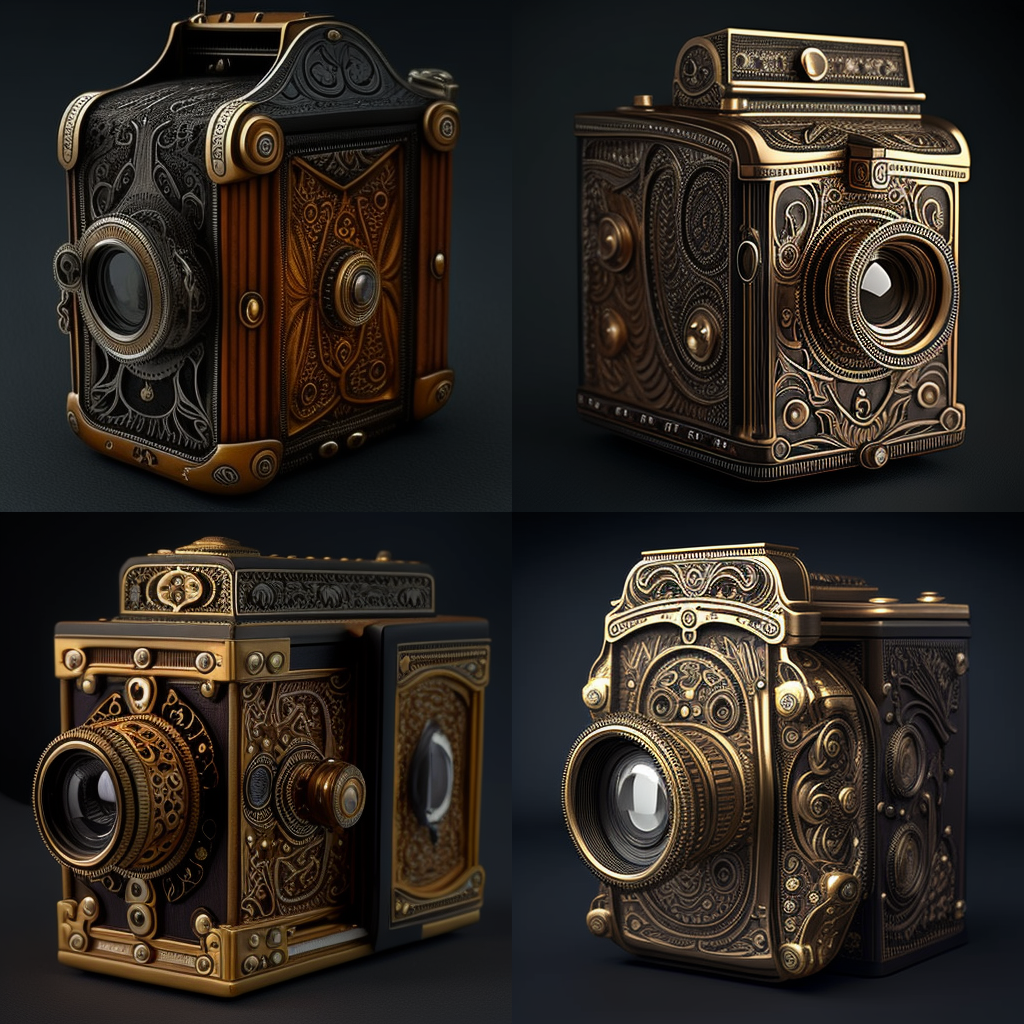
Prompt: Vintage Camera, 1910, Black and Gold, Photo, Hyper-Realistic, intricate, studio lighting, product shot, 32k, –quality 5